
How to Seal Granite Countertops: A Step-by-Step Vancouver Guide
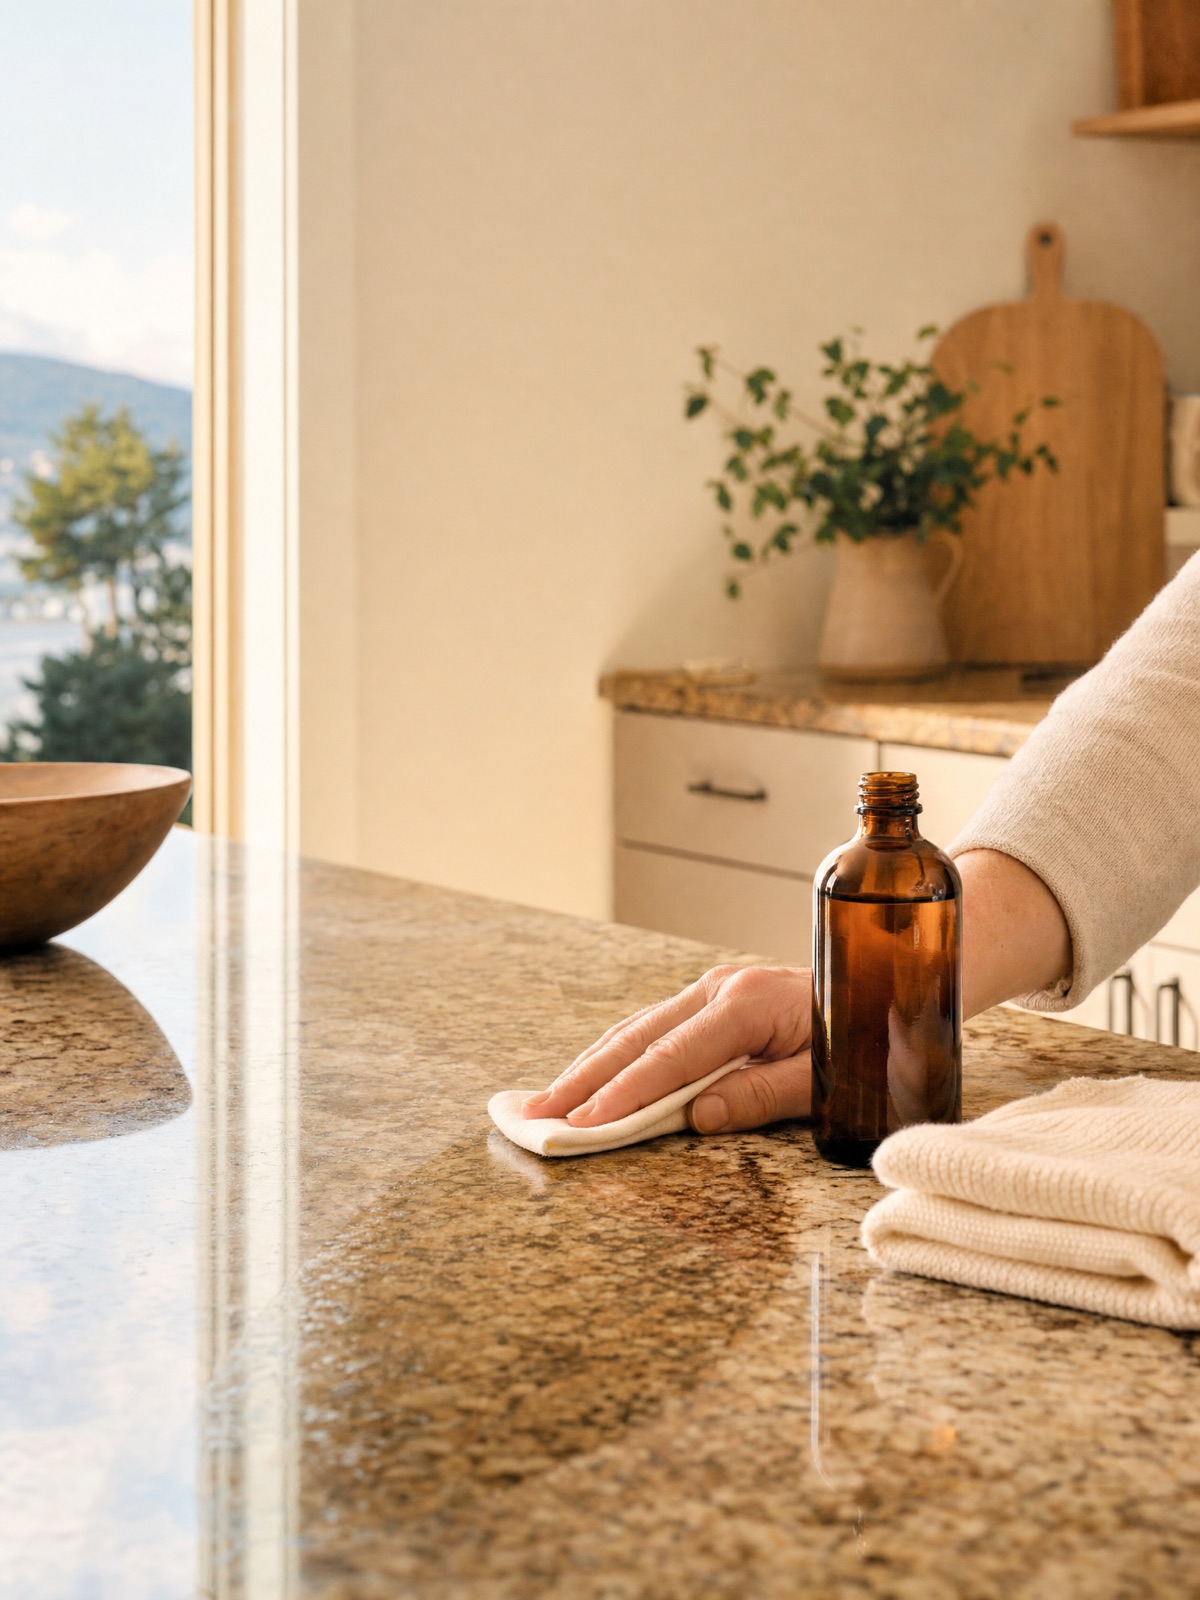
Granite is a porous natural stone, which means a thin glass of red wine or a puddle of cooking oil left too long can soak in and leave a mark. A penetrating sealer fixes that by lining the stone’s pores so spills bead on the surface long enough for you to wipe them away. Sealing granite is a genuinely doable afternoon project, and this guide walks you through it from start to finish — what to buy in Canada, exactly how to apply it, how long to wait, and how to tell when you are done. The same method works for quartzite and marble, with one important caveat about marble we cover below.
What you’ll need
- A penetrating (impregnating) stone sealer. In Canada you can buy the Miracle Sealants 511 Impregnator at Home Depot Canada and on Amazon.ca, or spray-on sealers such as Weiman Granite & Stone Sealer and Rock Doctor Granite & Stone Sealer at Canadian Tire. Choose a penetrating impregnator, not a topical coating. A premium fluorocarbon-resin impregnator will last the longest between applications.
- A pH-neutral stone cleaner or a few drops of mild dish soap in warm water, to clean the surface first.
- Two or three clean, dry microfibre or soft lint-free cloths — one for cleaning, one or two for applying and buffing.
- Disposable gloves (many sealers are solvent-based).
- Painter’s tape to protect adjacent surfaces if you wish.
- Good ventilation — open a window or run a fan. This matters more during a damp Vancouver winter, when surfaces and the room hold moisture.
Always read the label on your specific product. Dwell times and cure times vary between brands, and the label instructions take priority over any general advice here.
Step-by-step: how to seal granite countertops
- Clear and clean the counter. Remove everything from the surface. Wipe the granite down with a pH-neutral stone cleaner or a little mild dish soap in warm water to lift off grease, food residue, and old cleaner film. Sealer cannot penetrate through grime, so this step matters.
- Let the stone dry completely. The granite must be bone dry before sealing — any trapped moisture blocks the sealer from soaking in. Give it several hours, or longer in humid weather. In a wet Vancouver winter, running a fan or a dehumidifier in the room helps the surface dry fully.
- Test an inconspicuous spot first. Apply a small amount of sealer to a hidden corner, follow the dwell and wipe steps below, and confirm you are happy with the result before doing the whole counter. This is good practice on any new product or stone.
- Apply the sealer evenly. Working in sections of roughly one square metre, apply the sealer across the surface. For a liquid impregnator, pour or dab it onto a cloth (or directly onto the stone per the label) and spread it in a thin, even coat so the whole area looks uniformly wet. For a spray sealer, mist evenly and spread with a cloth. Do not leave puddles.
- Let it dwell. Allow the sealer to soak into the stone for the time stated on the label — commonly several minutes (often around five, sometimes up to fifteen). This dwell time is when the sealer is actually penetrating the pores. Do not let it dry on the surface.
- Wipe off all excess before it dries. This is the most important step. Before the dwell time ends and the sealer starts to dry, buff off every bit of sealer still sitting on the surface with a clean dry cloth. Any penetrating sealer left to dry on top will leave a hazy or streaky residue. The goal is a surface that looks completely dry and natural, with the sealer only inside the stone.
- Buff to a clean finish. Go over the whole area again with a fresh dry cloth to remove any remaining film and bring back the stone’s natural look.
- Apply a second coat if the stone is still thirsty. Very porous or light-coloured granite may want a second coat. If during the first coat the sealer soaked in almost instantly and the stone looked dry within a minute or two, the pores were drinking it up — apply another coat using the same dwell-and-wipe method. Denser, darker granite often needs only one.
- Let it cure and keep the counter dry. After the final coat, leave the counter unused and dry for the cure time on the label — frequently anywhere from a few hours to 24 or 48 hours before normal use and before exposing it to water. The sealer needs this time to fully set inside the stone. In humid conditions, err toward the longer end.
- Confirm the seal worked with the water-bead test. Once cured, drip a few drops of water on the counter and wait a few minutes. If the water beads and the stone stays the same colour, the seal is working. If it soaks in and darkens, add another coat. See the water bead test guide for the full method.
What to avoid
- Do not let penetrating sealer dry on the surface. The number-one mistake. Always wipe off the excess before the dwell time ends, or you will be buffing out haze afterward.
- Do not seal wet or freshly cleaned stone. Trapped moisture stops the sealer from soaking in. Wait until the granite is fully dry.
- Do not use a topical coating sealer on a working kitchen counter. Topical sealers sit on the surface, wear unevenly, and need stripping to redo. Use a penetrating impregnator.
- Do not assume sealing will stop etching on marble. If you are adapting this method for marble, know that sealing slows staining only — it does not protect against acid etching from lemon, vinegar, or wine, which dulls the polished surface chemically. Sealing and etching are separate issues.
- Do not over-seal. Sealing more often than the water-bead test calls for wastes product and risks residue buildup. Reseal when the stone tells you to, not on a rigid calendar.
- Skip the abrasive cleaners and harsh chemicals before and after sealing — stick to pH-neutral cleaning so you do not strip the seal you just applied.
How often to reseal — and a note for Vancouver homes
There is no universal number, and reputable sources genuinely disagree: This Old House suggests every six months for granite, while Bob Vila and MSI put it at every 1 to 5 years depending on porosity and use, with premium fluorocarbon-resin sealers lasting 5 to 10 years. Rather than trust a calendar, use the water-bead test every few months on the area around your sink, where sealer wears first. Reseal when water stops beading.
On the local angle, we will be honest: Metro Vancouver’s wet winters and humid air do not dramatically shorten the life of a sealer. What wears a seal is daily use and acidic spills, not the weather. The practical takeaways for a Vancouver home are simply to (1) base resealing on the water-bead test rather than the season, and (2) allow a little extra drying and cure time when you seal during the damp months, with a fan or window for ventilation. Metro Vancouver tap water is also very soft (about 2.5 to 4.8 mg/L), so it leaves little mineral residue and has no effect on your seal.
When to call a professional
Sealing granite is a reasonable DIY job, but there are good reasons to bring in a pro. When Alpine fabricates and installs your granite, we seal it as part of the job, so a new counter starts protected. We can also reseal large islands, full perimeters, or very porous light-coloured stone where an even, methodical application pays off. And if your real problem turns out to be etching or a deep stain rather than a worn seal, sealing will not fix it — we can identify which issue you actually have and recommend honing, polishing, or a poultice as appropriate. Alpine works across Metro Vancouver and the Fraser Valley.
Frequently asked questions
How long does sealer take to cure on granite?
It depends on the product. Many penetrating sealers ask you to keep the counter dry and unused anywhere from a few hours up to 24 or 48 hours after the final coat. Always follow the label. In a humid Vancouver winter, lean toward the longer end and ventilate the room while it cures.
How do I know if my granite needs a second coat?
Watch how fast the sealer absorbs during the first coat. If it soaks in almost immediately and the stone looks dry within a minute or two, the pores are drinking it up and a second coat is worth applying. If the sealer sat on the surface for the full dwell time and you wiped off a noticeable amount of excess, one coat is likely enough. The final water-bead test confirms either way.
Can I use this same method to seal quartzite or marble?
Yes — the clean, dry, apply, dwell, wipe, buff, cure sequence is the same for quartzite and marble. The one critical difference is that sealing marble slows staining but does not stop acid etching, which is a separate chemical problem. Do not seal engineered quartz or porcelain; they are non-porous and never need it.
What sealer can I actually buy in Canada for granite?
The Miracle Sealants 511 Impregnator is sold at Home Depot Canada and on Amazon.ca. Spray-on options including Weiman Granite & Stone Sealer and Rock Doctor Granite & Stone Sealer are carried at Canadian Tire. All are penetrating sealers suitable for granite. For a fuller rundown of products and where to buy them, see our Canadian stone cleaner and sealer buyer’s guide.
This guide is part of our Countertop Sealing Guide. For the simple test that tells you when to reseal, see the water bead test; for day-to-day care, see our granite countertop care guide.
Get help from Alpine
Want your granite sealed by people who fabricate it for a living? Alpine Countertops has worked across Metro Vancouver since 2015, is BBB A+ accredited, and seals every natural stone we install as part of the job. Call 604-630-5700 or email info@alpinecountertops.com, or reach us through our contact page.