
How to Fix a Cracked or Separated Countertop Seam
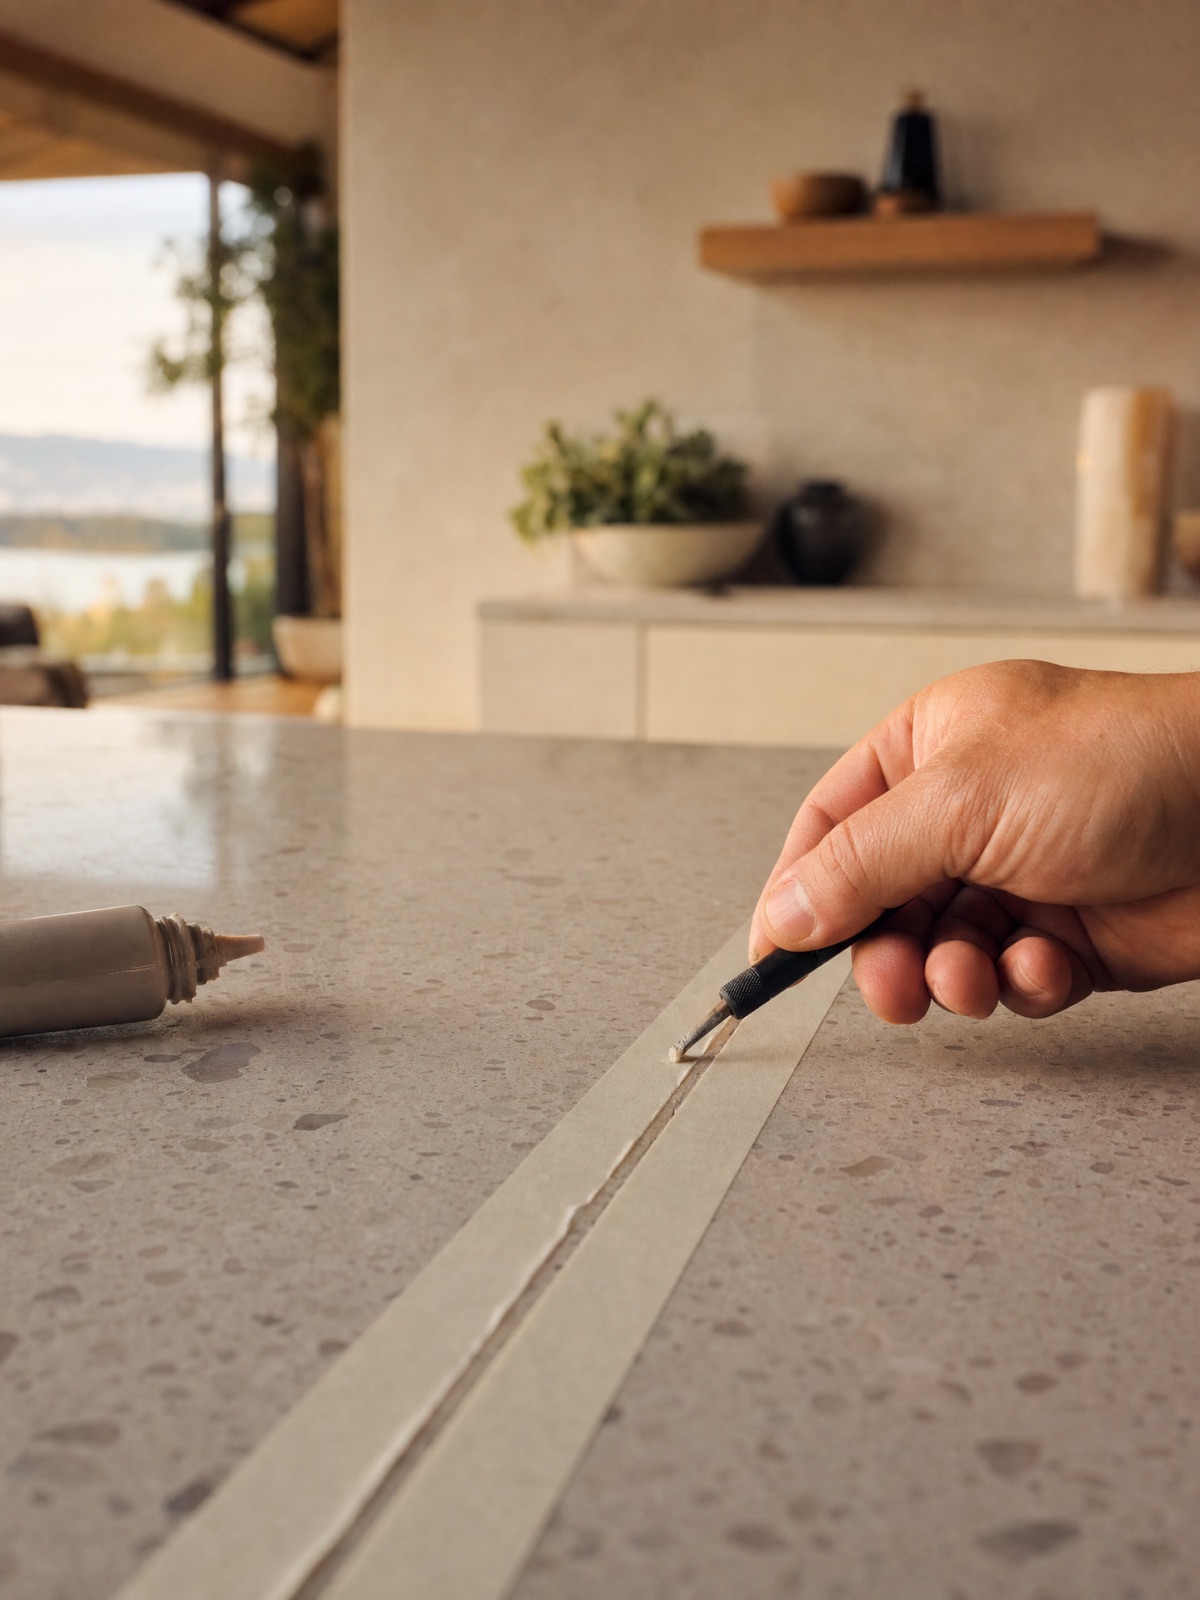
A seam that has opened up, lifted at one edge, or darkened along the join is one of the most common reasons homeowners call a fabricator — and one of the repairs we are most often asked whether you can do yourself. The honest answer: you can do the diagnosis yourself, and you should, because it tells you a lot. But the repair itself is almost always a job for a professional, and this guide explains why, so you can make an informed decision rather than make the problem harder to fix. We will walk through what to check, what causes seams to fail, and what proper countertop seam repair actually involves.
What you’ll need (to assess the seam)
This is a diagnostic kit, not a repair kit — and that distinction is the whole point. Before you decide anything, gather:
- A small flashlight or your phone torch — to look into the gap and along the join.
- A short spirit level (a 600 mm / 24-inch level is ideal) — to check whether the two sides sit flush.
- A feeler gauge or a slip of card — to gauge how wide the gap is and whether it varies along the seam.
- A clean cloth and pH-neutral dish soap in warm water — to clean the join so you can see what is actually happening.
- A camera (your phone) — to photograph the seam from several angles for your fabricator.
Deliberately not on this list: epoxy, adhesive, or filler. Reaching for those before you understand why the seam failed is the most common way a DIY seam repair goes wrong.
Step-by-step: assess a failing seam
- Clean the seam. Wipe along the join with a little mild dish soap in warm water and dry it. Old adhesive, grime, and trapped moisture can hide what is really going on; a clean seam shows you the true gap and any discolouration.
- Look at the gap. Shine your light into the join. Is it a hairline opening or a visible gap? Is it uniform along the whole seam, or wider at one end? A gap that widens toward an unsupported span or a sink cut-out is a strong clue that support, not just adhesive, is the issue.
- Check for a height difference (lippage). Lay the level across the seam in several places, or simply run a fingernail across it. If one side sits higher than the other, the substrate underneath has moved or was never level — that is a structural problem a bead of filler will not fix.
- Test for movement. Press gently on each side of the seam in turn. If a side flexes, dips, or you hear a faint click, the support beneath has failed or the slab was inadequately bedded. Note this — it changes the repair entirely.
- Look for discolouration or moisture. A seam that has darkened, or feels damp, suggests water is getting into the join — common near sinks and dishwashers. Trapped moisture can swell a wood substrate and lift a seam, and it must be addressed before re-bonding or the seam will fail again.
- Photograph everything and stop. Take clear photos of the gap, any lippage, and the surrounding area, including under the counter if you can reach. This is the point to call a fabricator. You now know whether you are looking at a simple adhesive separation or an underlying support or moisture problem — and either way, the next step is professional.
Why seams separate
Seams rarely fail for no reason, and knowing the cause matters because it determines the repair. The usual culprits:
- House settling. Homes move over time. As cabinets and framing settle, the rigid stone above can no longer sit perfectly flush, and a seam opens or develops lippage — common in older Lower Mainland homes and in new builds during their first year or two.
- Adhesive failure. The colour-matched adhesive at a seam is durable but not eternal. Years of heat, moisture, and minor flexing can eventually break the bond, especially if the join was thin or poorly supported.
- Inadequate support. A seam placed over an unsupported span, a dishwasher gap, or a weak cabinet run has nothing solid beneath it. Under daily load it flexes, and flexing kills a seam.
- Moisture and substrate movement. Water getting into a join near a sink can swell a wood substrate and lift one side — worth checking in kitchens near water given our wet winters and humid coastal air.
- Thermal stress. Repeated heat near a seam, such as a stove pushed tight to the join, can weaken the bond over time.
What to avoid
If you take nothing else from this guide, take this list.
- Do not squeeze hardware-store epoxy or caulk into the gap. It will not colour-match, it sets proud or sunken, and it makes a proper repair harder and more expensive because the fabricator has to remove your filler first.
- Do not ignore lippage or flex. If one side is higher or moves, the problem is underneath. Bonding the top without fixing the support guarantees the seam re-opens.
- Do not seal over trapped moisture. Re-bonding a damp seam locks the water in and the join fails again, sometimes worse.
- Do not pry at a lifted edge. Stone is strong in compression but chips and cracks under leverage; forcing a lifted seam can turn a fixable separation into a broken edge.
- Do not delay if the gap is near a sink. An open seam beside a sink lets water reach the substrate and the cabinet below, turning a cosmetic issue into a water-damage one.
Why proper seam repair is a professional job
A good seam repair is not “glue the gap.” It is a sequence of skilled steps, and most of them are hard to do well without a fabricator’s tools and experience:
- Diagnosing and fixing the cause. If support or level is the problem, the slab has to be carefully lifted or shimmed and the substrate corrected. This is delicate work — stone is heavy and chips easily under bad handling.
- Re-levelling. The two sides must be brought back flush, often with seam-setting tools that gently pull the slabs into alignment while the adhesive cures.
- Colour-matched adhesive. A fabricator tints a stone adhesive to match the slab’s specific colour and pattern, so the join disappears into the stone rather than reading as a grey line.
- Tooling and polishing flush. The cured adhesive is shaved and polished level with the surface so you cannot feel the join — a finish a tube of epoxy cannot match.
Done right, a repaired seam is hard to find. Done with filler from a tube, it is something you notice every day and pay to have redone. That is the false economy this whole guide is trying to save you from.
Cracks versus seams — and a warranty note
If the line you are looking at is not a join between two slabs but a crack running through a single slab, that is a different and more serious matter — usually pointing to a support problem, stress at a cut-out, or thermal shock — and it is firmly professional territory. Either way, check your warranty before anyone touches the surface. A crack may indicate a covered manufacturing or installation defect, and a DIY attempt can void coverage that would have fixed it for free. If Alpine installed your countertop, call us first.
When to call a professional
For seams, the honest answer is: in nearly every case. Call a fabricator if the seam shows any lippage or flex, if there is discolouration or moisture, if the gap is near a sink, or if you simply want it to disappear rather than be patched. The only genuinely DIY part of seam repair is the diagnosis above — and doing that well, then handing clear photos to a professional, is exactly the right move. Alpine repairs seams across Metro Vancouver and the Fraser Valley, including, where we can match the material, installs originally done by other companies.
Frequently asked questions
Can I glue a separated countertop seam back together myself?
We do not recommend it. A proper seam repair needs a colour-matched stone adhesive, correction of any support or levelling problem underneath, and tooling the join flush — none of which a hardware-store epoxy or caulk achieves. A DIY fill rarely colour-matches, often sets uneven, and makes a professional repair harder and more expensive because the filler has to be removed first. Diagnosing the seam yourself is worthwhile; bonding it is a fabricator’s job.
Why does my countertop seam keep separating?
A seam that re-opens almost always has an unresolved underlying cause: inadequate support beneath the join, a substrate that has shifted with house settling, trapped moisture swelling a wood substrate near a sink, or repeated thermal stress. Re-bonding the top without fixing the cause means it fails again. A fabricator identifies and corrects the cause as part of the repair, which is why a professional fix lasts and a quick DIY fill does not.
Is a gap in my countertop seam a sign of bad installation?
Not necessarily. Some separation comes from normal house settling, which is no one’s fault, or from adhesive ageing after years of service. That said, a seam placed over an unsupported span or a fresh seam that opens soon after installation can point to an installation issue. Photograph it and have a fabricator assess it; if it is a defect and the surface is under warranty, that matters for who pays.
How much does professional seam repair cost?
It depends on the cause and the material, so we will not quote a number that could mislead you. A simple re-bond of a clean separation is a modest job; one that requires lifting the slab, correcting support, or addressing moisture damage costs more. The honest way to find out is a photo and a phone call. Call 604-630-5700 or email info@alpinecountertops.com for an assessment.
This guide is part of our Countertop Repair Guide →, which covers chips, scratches, and burns alongside seams. You may also find our guide to countertop dos and don’ts useful for preventing seam stress in the first place.
Get help from Alpine
Send us a photo of your seam and we will tell you honestly whether it is a straightforward re-bond or something with a cause underneath that needs addressing first. Call 604-630-5700 or email info@alpinecountertops.com. Alpine Countertops fabricates in our own Richmond facility and serves homeowners across Metro Vancouver and the Fraser Valley. You can also reach us through our contact page.